Introduction
There’s something timeless and utterly charming about pineapple upside-down cakes. When baked into miniature form, these treats become even more special—perfectly portioned and irresistibly cute! Whether you’re a seasoned baker or a newbie in the kitchen, this article will guide you step-by-step to create upside down pineapple mini cakes that will wow your family, friends, or guests. From the history of this beloved dessert to creative variations and tips for storage, let’s dive into the sweet world of these delightful cakes.
The Origin and Popularity of Pineapple Upside-Down Cakes
Historical Background
The concept of upside-down cakes dates back to the Middle Ages when cooks used cast iron skillets over open flames to bake fruit-laden desserts. Pineapple upside-down cakes gained immense popularity in the early 20th century after canned pineapples became widely available, thanks to the Hawaii-based Dole company. This innovation transformed the dessert into an American classic.
Evolution Into Mini Versions
While the traditional cake is baked as a single large dessert, miniature versions offer modern-day convenience and charm. Perfectly portioned, they cater to individual servings, making them ideal for parties or intimate gatherings. What’s more, these mini delights retain the iconic caramelized pineapple and cherry topping that dessert lovers adore.
Why Mini Cakes Are Trending
In today’s fast-paced world, mini cakes have quickly become a sensation—and for good reason! Not only are they convenient and visually stunning, but they also help reduce waste. After all, who doesn’t love a dessert that’s both Instagram-worthy and easy to serve? Moreover, individual cakes are especially popular among health-conscious individuals looking to indulge in moderation.
Ingredients and Equipment Needed
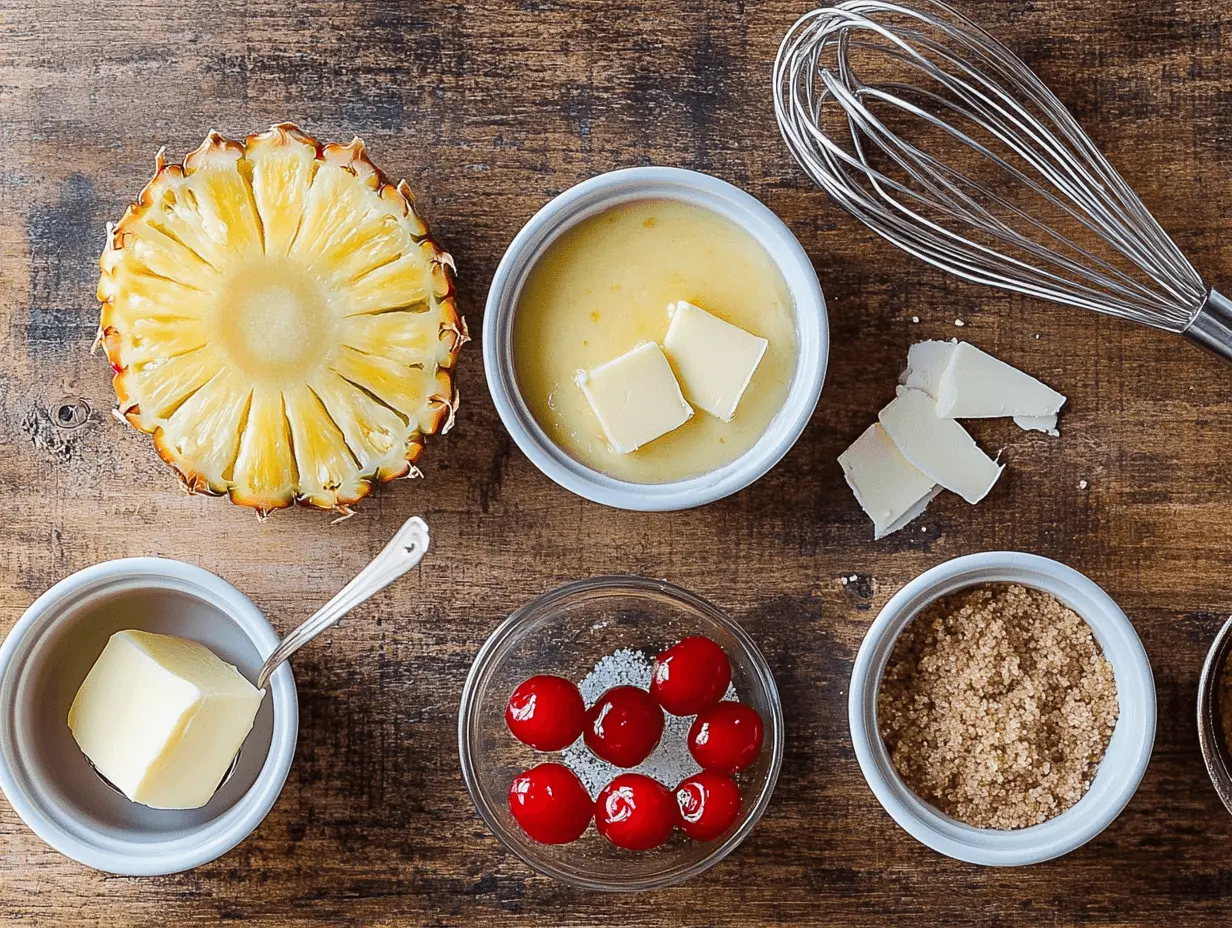
Essential Ingredients for Upside Down Pineapple Mini Cakes
Selecting the Right Pineapple
When it comes to pineapple upside-down mini cakes, the pineapple plays the starring role. Opt for canned pineapple rings for uniformity, as they’re pre-sliced and just the right size for muffin tins or ramekins. However, fresh pineapple adds a natural sweetness that’s hard to beat if you don’t mind the extra prep.
Choosing Between Fresh and Canned Pineapple
While canned pineapple is convenient and consistent, fresh pineapple can elevate the flavors of your mini cakes. If you’re going fresh, make sure to core and slice the pineapple into thin rings that fit your chosen baking dish. Both options work beautifully, but canned pineapple often ensures a softer texture once baked.
Importance of Maraschino Cherries
Maraschino cherries are iconic in this recipe, sitting proudly in the center of each pineapple ring. Not only do they add a pop of color, but their mild sweetness complements the caramelized pineapple perfectly. If cherries aren’t your thing, you can swap them for cranberries or small fruit pieces for a personalized twist.
Necessary Equipment and Tools
Muffin Tins vs. Ramekins
Mini cakes can be made in muffin tins for a casual approach or ramekins if you’re aiming for a more refined presentation. Muffin tins are practical for parties or larger gatherings, while ramekins make it easy to serve individual portions with a touch of elegance.
Preparing the Baking Pans
Before starting, it’s essential to grease your pans or ramekins thoroughly. A light layer of butter or non-stick spray ensures the cakes release effortlessly after baking. You might also consider lining the bottoms with parchment circles to guarantee a flawless finish.
Other Useful Baking Tools
- A hand or stand mixer for making the batter.
- Measuring cups and spoons for accuracy.
- A spatula for scraping every bit of batter from the bowl.
- A whisk for combining dry ingredients.
Step-by-Step Recipe Guide
How to Make Upside Down Pineapple Mini Cakes
Preparing the Topping
Melting Butter and Adding Brown Sugar
Start by creating the iconic caramelized topping that gives these mini cakes their signature flavor. In a small saucepan, melt butter over medium heat and stir in brown sugar until dissolved. The mixture should become smooth and glossy. Once done, spoon about a tablespoon of this mixture into each muffin cup or ramekin.
Arranging Pineapple Slices and Cherries
Place a pineapple ring on top of the caramel layer in each cup. For smaller muffin tins, you can cut the pineapple slices into halves or quarters to fit perfectly. Finally, add a maraschino cherry in the center of each pineapple slice—it’s the little details that make these cakes so irresistible!
Making the Cake Batter
Creaming Butter and Sugar
In a mixing bowl, cream together softened butter and granulated sugar until light and fluffy. This step is crucial for achieving a soft, airy texture in the cakes. Use a hand or stand mixer to make this process easier and more consistent.
Incorporating Eggs and Vanilla Extract
Next, add the eggs one at a time, making sure to beat well after each addition. Then, gently stir in a teaspoon of vanilla extract to enhance the flavor of the batter. Not only does vanilla add warmth and depth, but it also pairs beautifully with the tropical notes of pineapple.
Adding Dry Ingredients and Pineapple Juice
In a separate bowl, whisk together the dry ingredients: all-purpose flour, baking powder, and a pinch of salt. Gradually add the dry mixture to the creamed butter mixture, alternating with pineapple juice. This ensures the batter remains smooth and well-combined. The pineapple juice not only adds moisture but also ties the flavors together seamlessly.
Assembling and Baking the Mini Cakes
Layering Topping and Batter
Once the topping is set and the batter is ready, scoop the batter evenly over the pineapple and cherry layers. Fill each cup about three-quarters full to allow space for the cakes to rise. Use a spatula or the back of a spoon to level the batter for even baking.
Baking Time and Temperature
Preheat your oven to 350°F (175°C). After that, gently place the muffin tin or ramekins on the center rack and bake for 20–25 minutes. While they bake, be sure to keep an eye on them—the tops should turn golden brown, and the edges will start to pull slightly away from the sides of the pan. That’s how you’ll know they’re ready!
Testing for Doneness
To check if the cakes are fully baked, simply insert a toothpick into the center of one. If the toothpick comes out clean or with just a few moist crumbs, they’re ready to go! However, be careful not to overbake, as this can cause the cakes to dry out.
Cooling and Inverting the Cakes
Proper Cooling Time
Once baked, remove the cakes from the oven and let them cool in the pan for 5–10 minutes. This short resting period allows the caramel topping to settle slightly without hardening.
Techniques for Easy Release
Run a butter knife or offset spatula around the edges of each cake to loosen them gently. Place a serving platter or tray over the pan and invert quickly but carefully. Tap the bottom of each cup to ensure the cakes release smoothly. When lifted, you’ll reveal the stunning pineapple and cherry topping glistening with caramel goodness!
Variations and Serving Suggestions
Delicious Variations of Upside Down Pineapple Mini Cakes
Adding a Tropical Twist
If you’re looking to amplify the tropical vibe of your upside down pineapple mini cakes, consider swapping out some traditional ingredients. You can incorporate coconut flakes into the batter or sprinkle them over the caramel topping before adding the pineapple. This small tweak adds a nutty crunch and boosts the tropical flavor profile.
Using Different Fruits
Why stop at pineapple? Experiment with other fruits to put your own spin on this classic dessert. Substitute pineapple slices with peaches, apples, or even mango slices for a fresh twist. Seasonal fruits like berries or thinly sliced pears work beautifully, too, giving you the flexibility to adapt this recipe year-round.
Making It Gluten-Free
For those with dietary restrictions, these mini cakes can easily be made gluten-free. Simply replace all-purpose flour with a gluten-free flour blend designed for baking. Ensure that your other ingredients, such as baking powder, are also certified gluten-free to avoid cross-contamination.
Serving and Presentation Ideas
Pairing with Ice Cream or Whipped Cream
For an extra indulgent treat, serve your mini cakes with a dollop of freshly whipped cream or a scoop of vanilla ice cream. The cool, creamy textures perfectly complement the warm, caramelized pineapple and buttery cake.
Garnishing Tips
Presentation matters, especially when serving desserts! Garnish each mini cake with a sprinkle of powdered sugar or a drizzle of caramel sauce for added flair. A small mint leaf atop the cherry adds a pop of color and a touch of elegance.
Ideal Occasions for Serving
These pineapple upside-down mini cakes are incredibly versatile and perfect for almost any event. Whether it’s a casual family dinner or a formal celebration, they truly fit the bill. In addition, their compact size makes them ideal for potlucks, birthday parties, and even as a unique dessert choice for weddings. No matter the occasion, these cakes are sure to impress!
Storage and Make-Ahead Tips
How to Store Upside Down Pineapple Mini Cakes
Room Temperature vs. Refrigeration
If you plan to enjoy your upside down pineapple mini cakes within a day, storing them at room temperature is perfectly fine. To ensure they stay fresh, place the cakes in an airtight container or wrap them individually in plastic wrap so they remain moist. However, for longer storage, refrigeration is the best option. Simply put, transfer the cakes to a sealed container and refrigerate them for up to 3–4 days. This way, their flavor and texture will be preserved beautifully.
Freezing Instructions
Want to save some mini cakes for later? These treats freeze wonderfully! Wrap each cake tightly in plastic wrap and place them in a freezer-safe bag or container. Be sure to label with the date for reference. When ready to serve, allow the cakes to thaw at room temperature for about an hour or reheat them gently in the oven or microwave.
Reheating Tips
To enjoy that freshly baked taste, reheat the cakes before serving. Place them on a baking sheet and warm them in a preheated 300°F (150°C) oven for about 5 minutes. Alternatively, microwave each cake for 10–15 seconds. Just be cautious not to overheat, as this may dry them out.
Making Mini Cakes Ahead of Time
Preparing Components in Advance
If you’re pressed for time, you can prepare different components of the recipe ahead of time. Make the caramel topping and batter a day in advance, then refrigerate them separately. When you’re ready to bake, simply assemble the cakes and pop them into the oven!
Assembling Before Serving
For the freshest results, consider baking the mini cakes on the day you plan to serve them. However, if you’ve already baked them in advance, they can still be served warm and delicious. A quick reheat in the oven or microwave, paired with a fresh garnish, will make them taste just as delightful as when they were first made.
FAQs About Upside Down Pineapple Mini Cakes
Can I Use Fresh Pineapple Instead of Canned?
Absolutely! Fresh pineapple works wonderfully in this recipe. Slice the fresh pineapple into thin rings or chunks, ensuring they fit snugly in your muffin tins or ramekins. Keep in mind that fresh pineapple may have a firmer texture and a slightly less sweet flavor compared to the canned variety, so you might want to sprinkle a bit of extra sugar on top before baking.
What Type of Flour Is Best for This Recipe?
All-purpose flour is the go-to choice for pineapple upside-down mini cakes. It offers the right balance of structure and tenderness. For a lighter texture, you can sift the flour before mixing it into the batter. If you prefer a gluten-free option, use a high-quality gluten-free baking flour blend to achieve similar results.
How Do I Prevent the Cakes from Sticking to the Pan?
The key to preventing sticking is proper preparation. Generously grease your muffin tins or ramekins with butter or non-stick spray. Adding a small circle of parchment paper to the bottom of each cup is another excellent trick. This ensures a clean release and preserves the beautiful caramelized topping.
Can I Make These Cakes Without Eggs?
Yes, you can substitute eggs if needed. Common egg replacements include unsweetened applesauce, mashed bananas, or a flaxseed-water mixture (1 tablespoon ground flaxseed mixed with 3 tablespoons water per egg). These alternatives work well to bind the batter while keeping the cakes moist and delicious.
What Can I Do If My Topping Hardens Too Quickly?
If the caramelized topping hardens while assembling, simply reheat it gently over low heat or in the microwave for a few seconds to soften it. Pour it over the pineapple slices immediately after reheating for easy spreading.
Can I Add Extra Flavors to the Cake Batter?
Of course! You can infuse additional flavors by adding spices like cinnamon or nutmeg to the dry ingredients. Citrus zest, such as lemon or orange, is another great way to brighten up the flavor profile. These simple tweaks make the cakes even more enticing.
With these common questions answered, you’re all set to tackle any challenge when making upside down pineapple mini cakes. In the final section, we’ll wrap things up with a quick recap and some encouragement to explore the endless possibilities with this dessert!
Conclusion: Enjoy Your Upside Down Pineapple Mini Cakes
With their sweet caramelized pineapple topping, tender cake base, and charming individual servings, upside down pineapple mini cakes are a treat that combines nostalgia with modern convenience. Whether you’re preparing them for a party, a special occasion, or just a cozy dessert at home, these cakes are sure to impress.
Feel free to experiment with flavors, toppings, and creative presentations to make the recipe your own. The joy of baking lies in its versatility and the smiles it brings. So, grab your ingredients, preheat your oven, and indulge in the simple pleasure of these delightful mini cakes!


